Using iSight AI
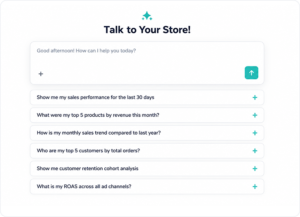
Most people don’t have time to open a dashboard and hunt for an answer. iSight AI skips that step entirely. You ask a question in plain language, and you get a direct answer back, pulled from your actual store data.
How it works
- Ask a question, type it like you’d ask a person, no special format needed.
2. iSight reads your connected data in real time (Shopify, Meta Ads, Google Ads, GA4, whatever you’ve connected).
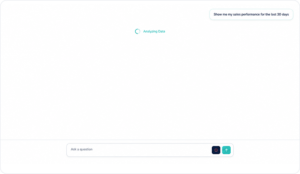
3. You get an answer, along with how confident iSight is in it, what data it used, and when that data was last updated.
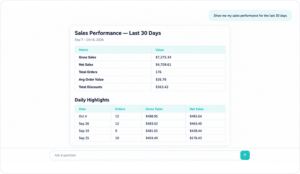
You can ask iSight from inside the app, or send it a message on WhatsApp if you’re away from your desk.
When to use it
- You’re between meetings and only have a minute
- You’re checking in from your phone, not at a computer
- You want one specific answer, not a full report
- You want to know if anything needs your attention right now, without opening the dashboard
Example questions
- “Why did my AOV drop last week?”
- “What’s my ROAS across all channels?”
- “Should I worry about anything today?”
- “How did we do yesterday?”
Types of questions iSight handles
- Diagnostic, “why did this happen,” iSight explains the cause
- Predictive, “what’s coming,” iSight flags what’s likely next
- Advisory, “what should I do,” iSight recommends the next move, not just the number
Tips for better answers
- Be specific. “Why did AOV drop last week?” gets a sharper answer than “how’s business?”
- Check the confidence score and data sources if you want to verify an answer
- You can ask follow up questions in the same conversation, iSight remembers the context
- Use WhatsApp for quick checks on the go, use the in app version when you want to see the numbers laid out visually too
Why it’s built this way
Most tools ask you to already know what you’re looking for. iSight flips that. You don’t need to know which report to open or which filter to apply, you just ask what you actually want to know, the way you’d ask a colleague.
A good habit to build
Next time you catch yourself about to open five tabs to answer one question, ask iSight instead. It’s usually faster, and you’ll get used to trusting it the more you use it.
Understanding ScaleBoard
Most dashboards hand you a wall of charts and leave you to figure out what matters. ScaleBoard doesn’t work that way.
Every morning, it looks at your store’s data and tells you two things: what went wrong, and what to do about it. Not forty metrics to sort through, just the handful that actually need your attention today.
How ScaleBoard is organized
ScaleBoard is split into six areas, each covering a different part of your business:
- Marketing, your ad spend, campaign performance, and where your budget is actually working
- Product, margins, SKU performance, and pricing health
- Customer, who’s coming back, who’s at risk of leaving, and what they’re worth over time
- Store, conversion rates, cart abandonment, and checkout friction
- iSight AI, your predictive layer, catching things before they become problems
- Payment, whether transactions are actually going through, and why they might not be
You can look at all six together, or filter down to just the one you care about right now.

Reading a card
Every card on ScaleBoard follows the same simple shape.
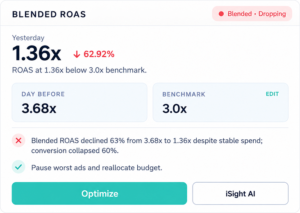
A status badge tells you at a glance how serious this is. Something marked “Critical” needs your attention before something marked “Healthy.”
A number, with how it compares to yesterday and to your own benchmark. This is where you see if something’s actually off, not just different.
A short explanation, in plain language, of what’s happening and why. No jargon, no digging required.
A recommended action, already worked out for you. Not “here’s a chart, good luck,” but “here’s the actual fix.”
If you want to go deeper on any card, there’s an iSight AI button that lets you ask a follow up question right there. And if a problem needs more than a quick fix, a Hire a Pod option connects you with a real person who can help you act on it.
Why it’s built this way
The point of ScaleBoard isn’t to show you everything. It’s to shorten the distance between “something happened” and “I know what to do about it.” Most tools stop at the first part. ScaleBoard is built to get you to the second part every single day, without needing to become an analyst yourself.
A good habit to build
Check ScaleBoard once in the morning before you open anything else. Most days, there’ll be one or two things worth five minutes of your time. Some days there won’t be much at all, and that’s a good sign too.
Netsights Knowledge Base
Netsights provides unified, AI-powered performance visibility for Shopify brands. It transforms complex store data into clear, actionable Sights™ tailored to different leadership roles.
Key Capabilities
- Unified Shopify performance visibility
- Role-based Sights for:
- CEOs
- CMOs
- CFOs
- COOs
- Custom insight cards and KPIs
- AI-driven context and predictive signals
- Real-time and historical performance analysis
Getting Started with Netsights
Create Your Account
- Visit localhost/netsights/
- Click Request Early Access or Install on Shopify
- Sign in using your Shopify store
- Complete the onboarding process
Once connected, Netsights begins pulling performance data and generating Sights automatically.
Customizing Your Insights
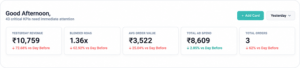
- Click + Add Cards to choose which Insights you want to view
- Filter data by date and time range
- Arrange cards based on your priorities and role
Connecting Your Shopify Store to Netsights
Purpose
Connecting your Shopify store enables Netsights to securely read your sales, operational, and customer data to generate accurate Sights and insights.
Prerequisites
Before installing Netsights, ensure:
- You are a Shopify Store Owner or Admin
- Your store is on Shopify or Shopify Plus
- You have an active internet connection
- Browser pop-ups are enabled
Step-by-Step: Shopify Integration
- Go to https://apps.shopify.com/netsights
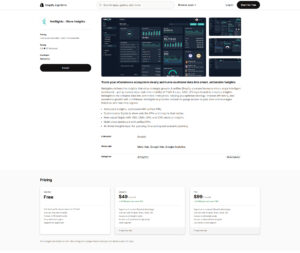
- Click Install App
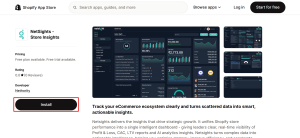
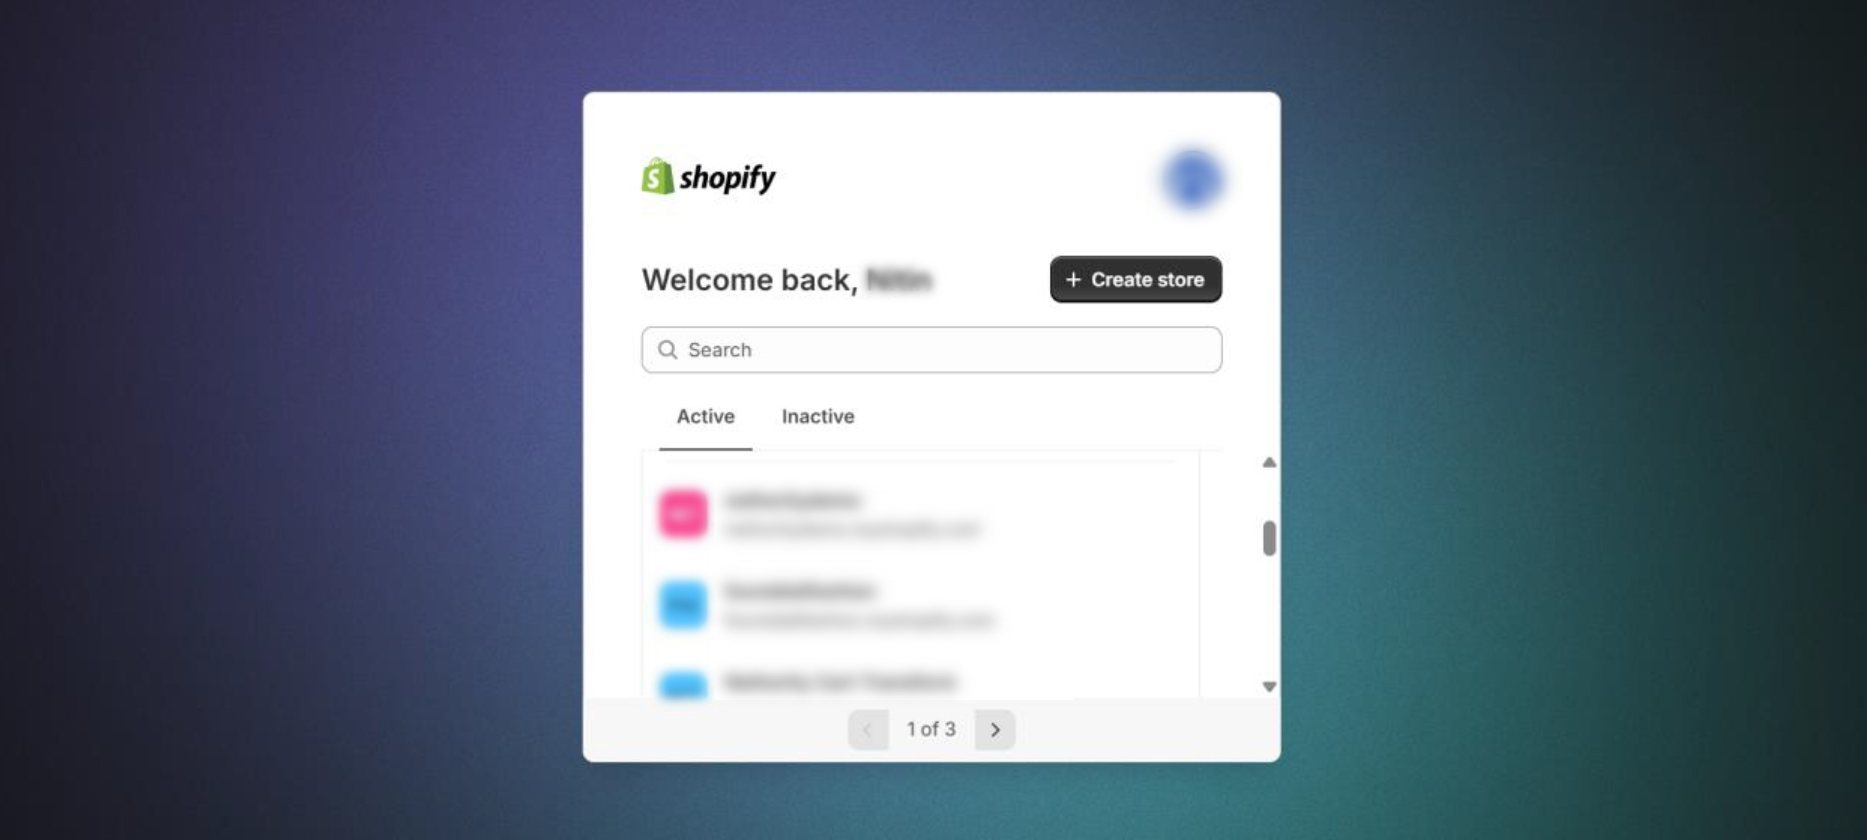
- Log in to your Shopify account (if prompted)
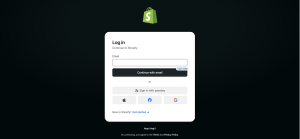
- Select the store you want to connect
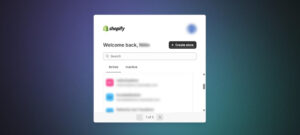
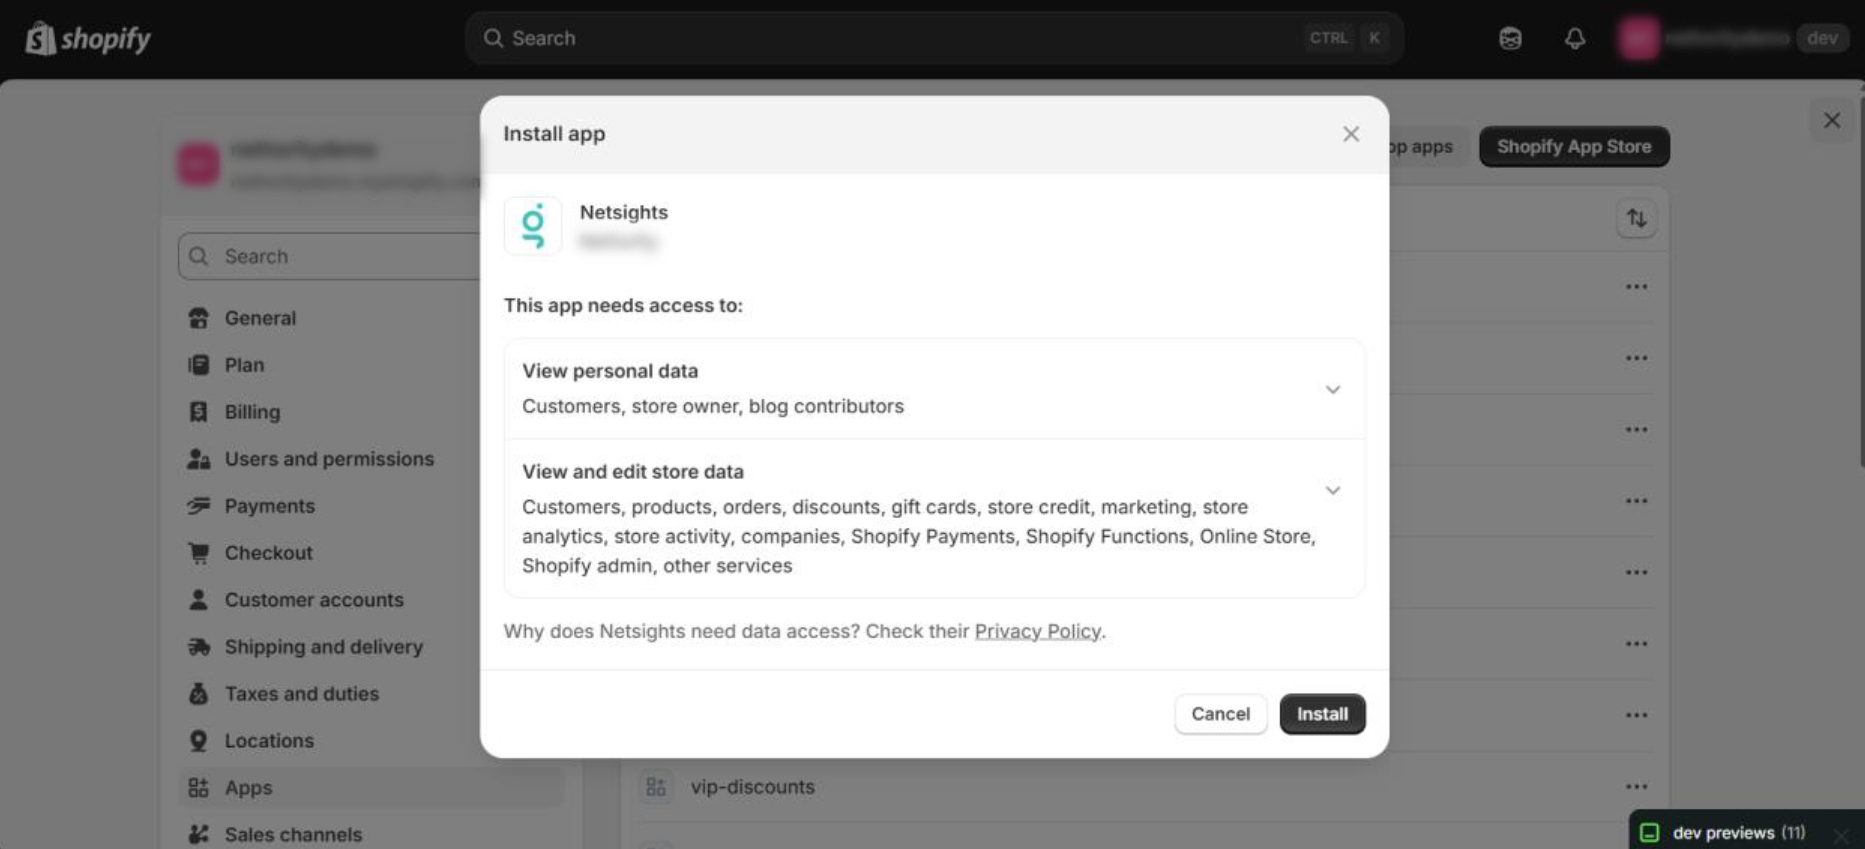
- Review the requested permissions
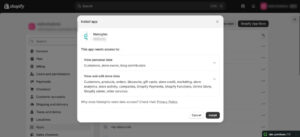
- Click Install
After Installation
- Netsights automatically begins the initial data sync
- First insights typically appear within 30 minutes to a few hours, depending on store size and data volume
Shopify Data Access & Security
Data Accessed (Read-Only)
Netsights securely reads the following data from Shopify:
- Orders and order history
- Products and variants
- Revenue, refunds, discounts, and taxes
- Customer data (used strictly for analytics)
- Inventory and fulfillment status
Data Safety
- Netsights has read-only access
- No store settings, products, or customer data are modified
- Data is used solely for analytics and insight generation
Track Shopify store performance into a single intelligent dashboard giving clear, real-time visibility of Profit & Loss, CAC, LTV and AI analytics insights
How to Integrate Meta (Facebook & Instagram) Ads with Netsights
Connecting Meta Ads to Netsights allows you to understand how Facebook and Instagram ad spend translates into real business outcomes.
Once connected, Netsights uses Meta Ads data to:
- Analyse spend efficiency and channel contribution
- Compare reported conversions with actual Shopify revenue
- Identify measurement gaps caused by attribution and signal loss
Steps to Integrate Meta Ads
1. Open Integrations in Netsights
Log in to your Netsights dashboard.
From the Right-hand menu, click on Connect Integrations.
2. Select Meta Ads
Under the Integrations section, locate Meta Ads and click Connect.
3. Authorise Your Meta Ads Account
You’ll be redirected to Meta’s login screen.
- Log in using the Facebook profile that has access to the required ad account(s)
- Review the permissions Netsights requests (read-only access)
- Click Continue to authorise
- Select the Business Manager and ad account(s) you want to connect
Netsights does not edit campaigns, budgets, creatives, or audiences.
4. Confirm the Connection
After authorisation:
- Your Meta Ads account will appear as Connected under Integrations
- Netsights will begin syncing data automatically
Initial sync may take up to 30 minutes, depending on account size and activity.
Once syncing completes, Meta Ads data will be reflected inside relevant Sights and marketing insights.
Viewing Meta Ads Insights
After integration, Meta Ads data is used to:
- Evaluate ad spend vs actual revenue impact
- Understand campaign-level contribution
- Detect performance and measurement inconsistencies
Insights are delivered through Sights, not raw dashboards.
Changing or Updating Your Meta Ads Account
To connect a different Meta Ads account:
- Go to Integrations → Meta Ads
- Click Disconnect
- Reconnect by logging in with the correct Facebook profile
- Select the new Business Manager and ad account
- Authorise access
Allow up to 30 minutes for the new data to sync.
How to Integrate Google Analytics (GA4) with Netsights
Connecting Google Analytics (GA4) to Netsights allows you to understand how traffic, user behaviour, and engagement translate into real business outcomes — not just sessions or events.
Once connected, Netsights combines Google Analytics data with Shopify and marketing channels to reveal what traffic actually converts into revenue.
Once Connected, Netsights Uses Google Analytics Data To:
- Analyse traffic quality and post-click behaviour
- Compare sessions and events with Shopify revenue
- Identify drop-offs between traffic, intent, and purchases
- Detect tracking and attribution gaps across channels
Insights are surfaced through Sights™, not raw GA dashboards.
Steps to Integrate Google Analytics with Netsights
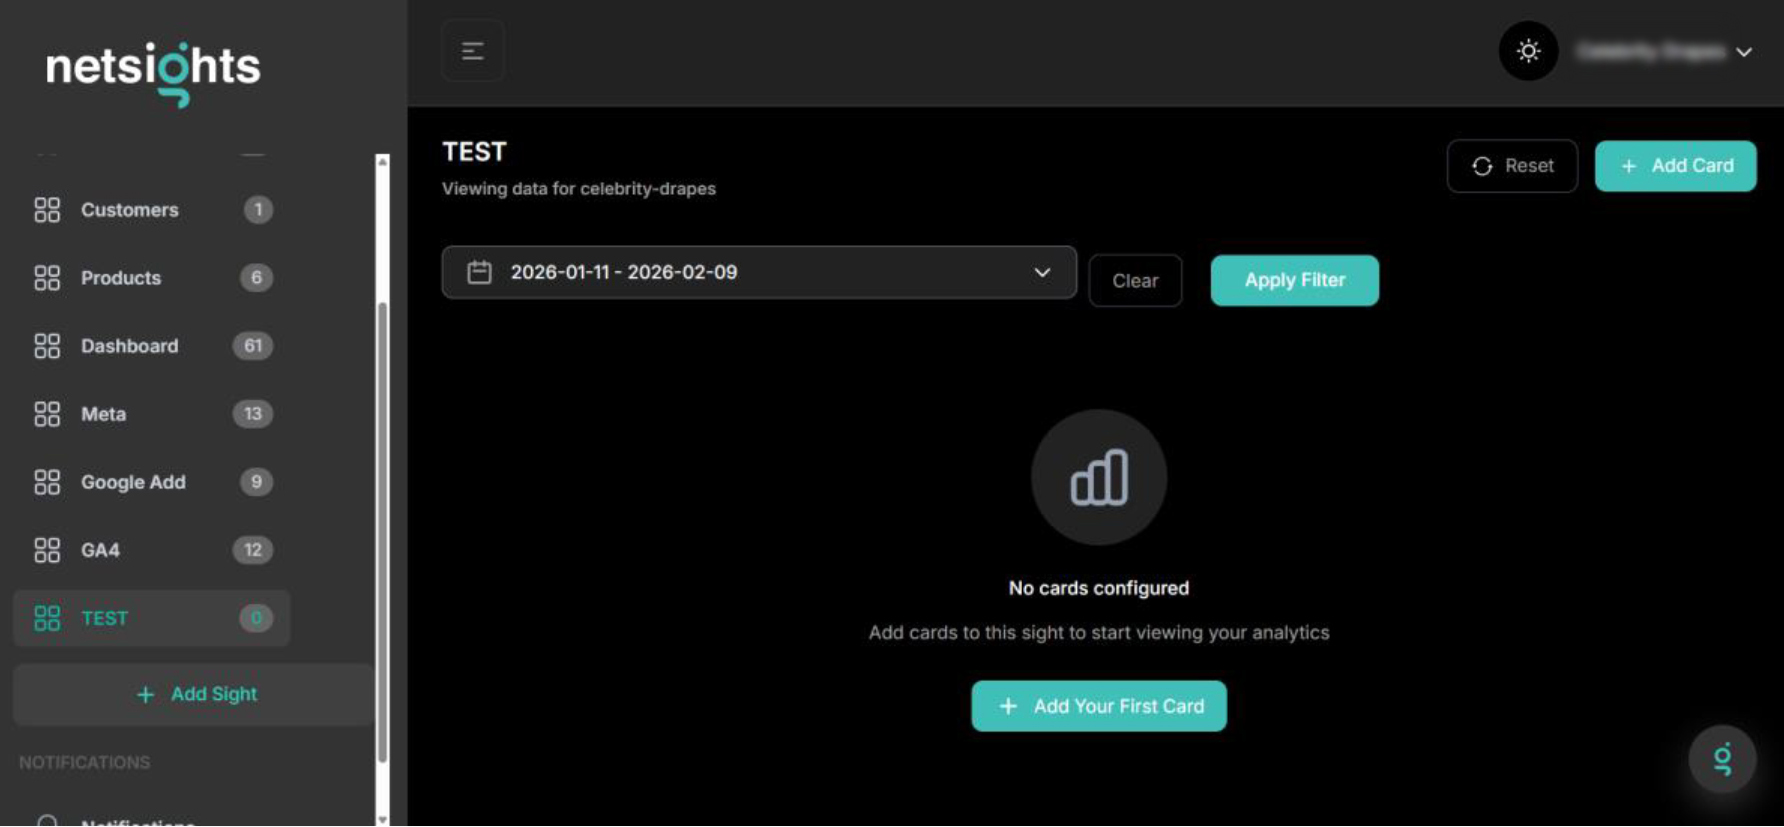
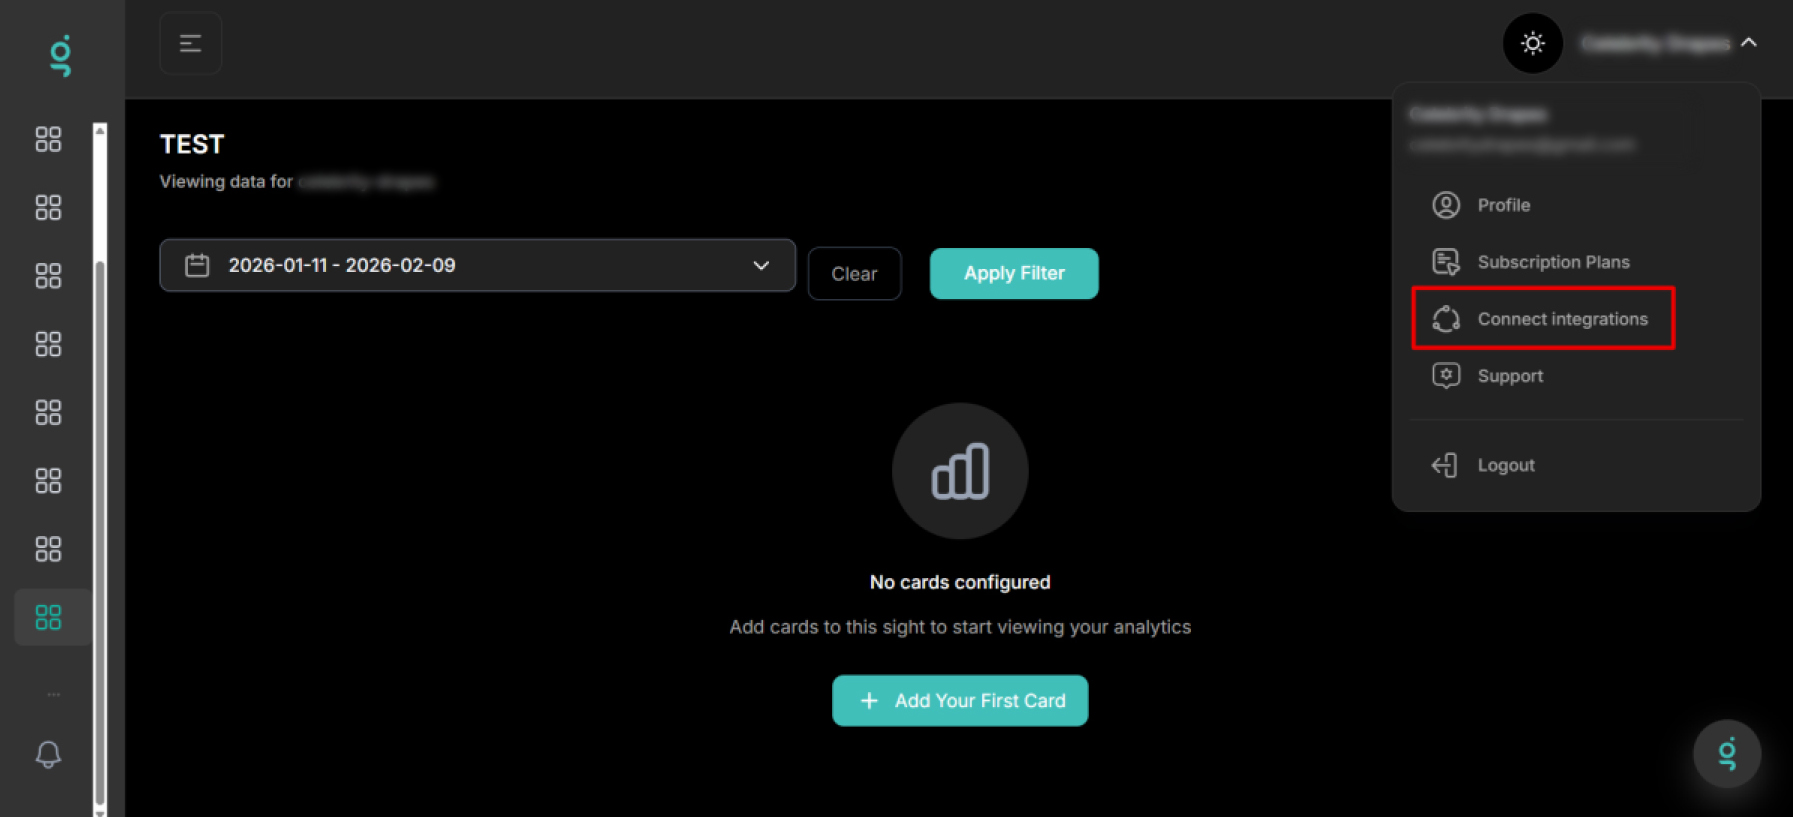
1. Open Integrations in Netsights
- Log in to your Netsights dashboard
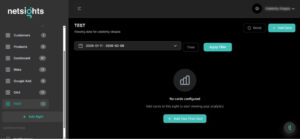
- From the right-hand menu, click Connect Integrations
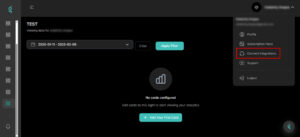
2. Select Google Analytics
- Under the Integrations section, locate Google Analytics
- Click Connect

3. Authorise Your Google Account
You’ll be redirected to Google’s sign-in page.
- Log in using the Google account that has access to the required GA4 property
- Review the permissions Netsights requests (read-only access)
- Click Allow to authorise the connection
- Select the GA4 property linked to your Shopify store
Netsights does not edit your GA setup, events, or configurations.
4. Confirm the Connection
Once authorised:
- Your Google Analytics property will appear as Connected
- Netsights will begin syncing data automatically
- Initial data sync may take up to 30 minutes, depending on data volume
After syncing completes, Google Analytics insights will start appearing inside relevant Sights™ and performance views.
Viewing Google Analytics Insights in Netsights
Once connected, Google Analytics data is used to:
- Understand traffic quality vs actual revenue impact
- Analyse user behaviour across key store pages
- Identify where users drop off before conversion
- Detect mismatches between traffic growth and sales performance
All insights are delivered through Sights™, not isolated GA reports.
Changing or Updating Your Google Analytics Account
If you need to connect a different GA4 property:
- Go to Integrations → Google Analytics
- Click Disconnect
- Reconnect by signing in with the correct Google account
- Select the new GA4 property
- Allow up to 30 minutes for the new data to sync
How to Integrate Google Ads with Netsights
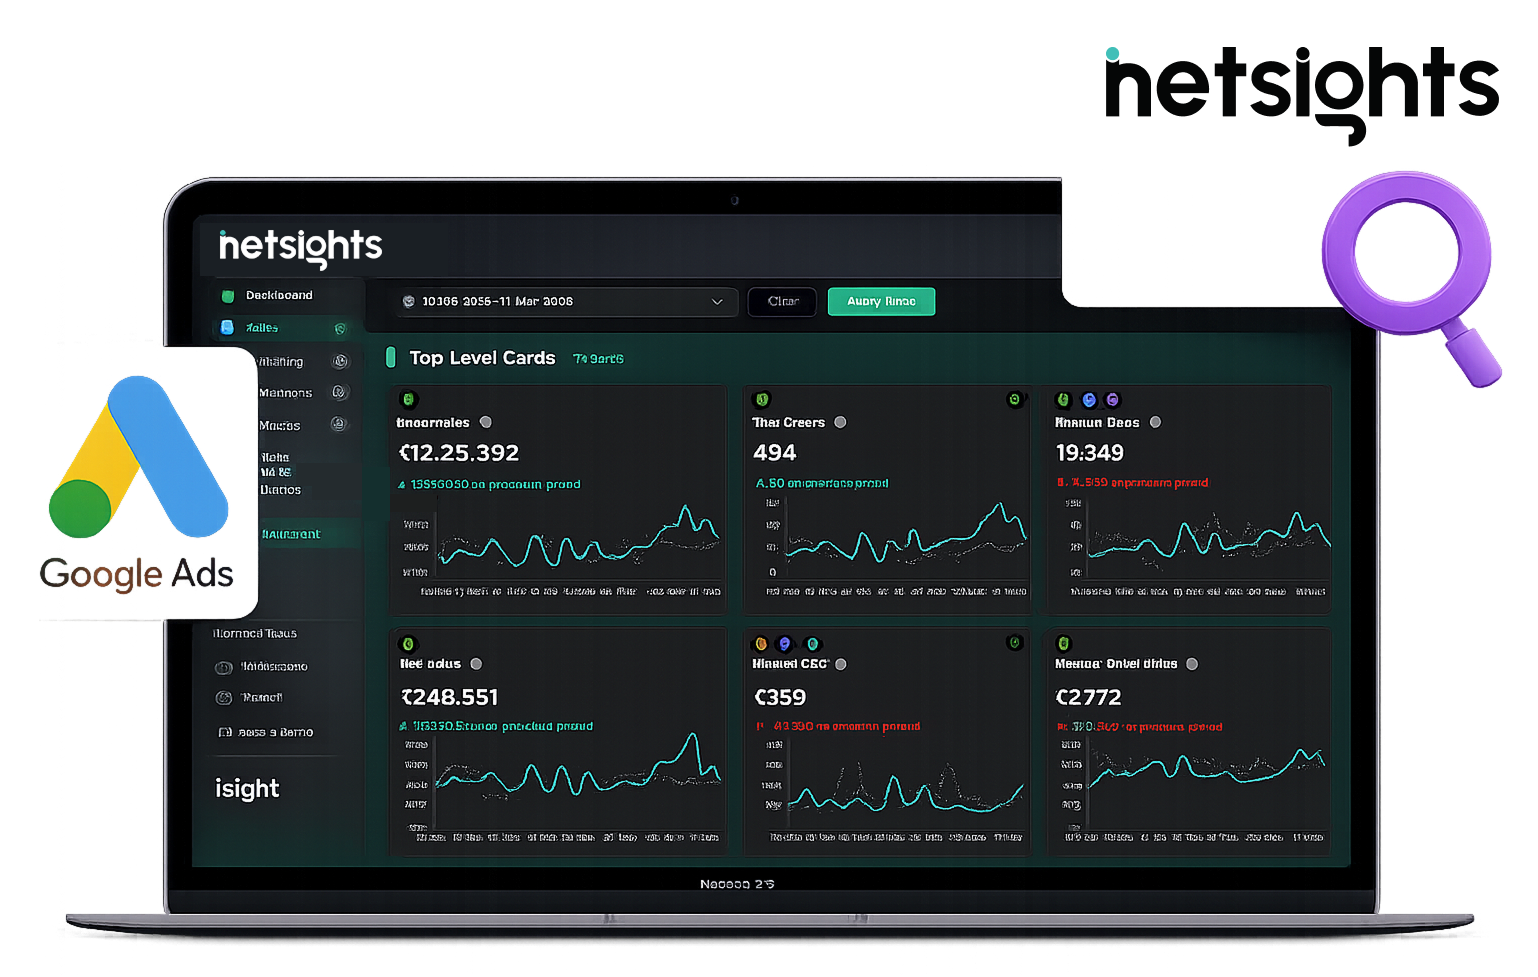
Connecting Google Ads to Netsights allows you to understand how ad spend translates into real business outcomes — not just clicks or conversions.
Once connected, Netsights uses your Google Ads data to:
- Track spend efficiency
- Compare ad performance with Shopify revenue
- Identify gaps between reported conversions and actual impact
Steps to Integrate Google Ads
1. Open Integrations in Netsights
Log in to your Netsights dashboard.
From the Right-hand menu, go to Connect Integrations.
2. Select Google Ads
Under the Integrations section, locate Google Ads and click Connect.
3. Authorise Your Google Ads Account
You’ll be redirected to Google’s sign-in page.
- Log in using the Google account that has access to the Google Ads account you want to connect
- Review the permissions Netsights requests (read-only access)
- Click Allow to authorise the connection
- If you manage multiple ad accounts, select the account(s) you want to connect
Netsights does not make any changes to your campaigns or budgets.
4. Confirm the Connection
Once authorised:
- Your Google Ads account will appear as Connected in the Integrations section
- Netsights will begin syncing your data automatically
Initial data sync may take up to 30 minutes, depending on account size and history.
After sync completes, Google Ads insights will start appearing inside relevant Sights and marketing views.
Viewing Google Ads Insights
Once connected, Google Ads data is used to:
- Analyse spend vs revenue impact
- Understand channel contribution
- Detect inefficiencies and attribution gaps
Insights are surfaced through Sights rather than raw reports.
Changing or Updating Your Google Ads Account
If you need to connect a different Google Ads account:
- Go to Integrations → Google Ads
- Click Disconnect
- Reconnect by signing in with the new Google account
- Authorise access and select the correct ad account
Allow up to 30 minutes for the new account data to sync.